Skip to content



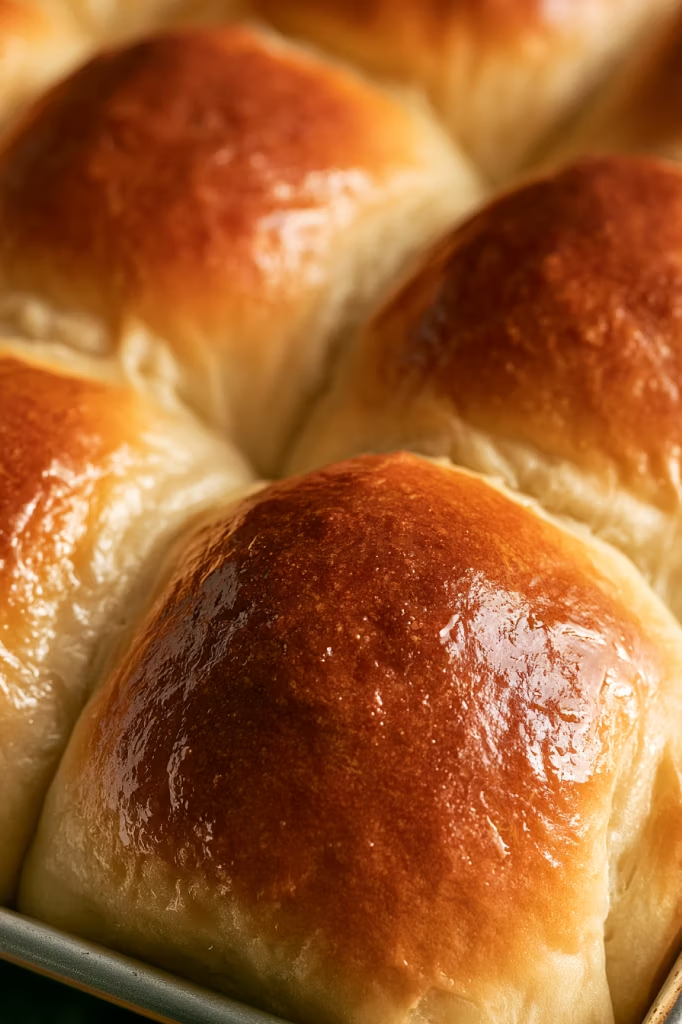
Warm from the oven with golden tops and soft, fluffy centers,
these no-knead dinner rolls give you everything you want from homemade bread—without all the kneading.
Mix the dough with a wooden spoon, let it rise, shape it into rolls, and bake. That’s really all there is to it.
I love the idea of homemade dinner rolls with a big family meal,
but traditional bread recipes can turn a simple side dish into a project.
These rolls are different. The dough is intentionally soft and sticky,
so there’s no stand mixer to pull out and no long session of kneading at the counter.
The little bit of patience comes during the rising time.
Let the dough get wonderfully puffy and bubbly, shape it into 12 rolls,
and give them one more short rise before they go into the oven.
A brush of melted butter at the end makes the tops soft and buttery.
Served warm, they’re exactly the kind of rolls you want to pull apart at the dinner table.
Why You’ll Love This These Dinner Rolls
These rolls have become the kind of bread recipe worth keeping around because
they make homemade rolls feel surprisingly manageable.
You still get that fresh-from-the-oven experience—the warm bread, fluffy middle,
and buttery golden top—but the dough doesn’t need to be kneaded at all.
I especially love that you don’t need a stand mixer or any special bread-making equipment.
A bowl and wooden spoon do most of the work. And if you’re planning a holiday or family dinner,
you can shape the rolls ahead of time and refrigerate them for 4 to 24 hours before baking.

Ingredients You’ll Need To Make These Dinner Rolls
The ingredient list is simple, but each one has a job to do. Here’s what you’ll need to make these soft no-knead dinner rolls:
- Dry yeast – This is what gives the rolls their rise and creates that light, fluffy texture. Let it sit with the warm water and a little sugar until frothy before adding it to the dough.
- Caster/superfine sugar – Adds a subtle sweetness to the rolls and also helps activate the yeast. Normal white sugar works too.
- Warm water – Used to activate the yeast. Keep it comfortably warm, not hot, since water that’s too hot can kill the yeast.
- Bread flour – Gives the rolls structure while helping them bake up fluffy and tender. You’ll also need a little extra flour for dusting and shaping the sticky dough.
- Salt – Balances the slight sweetness and brings out the flavor of the bread. Cooking or kosher salt works well here.
- Milk – Adds moisture and richness, helping create a softer, more tender roll. Whole or low-fat milk can be used; just make sure it’s lukewarm.
- Unsalted butter – Melted butter adds richness and tenderness to the dough. Let it cool before mixing it with the other ingredients.
- Eggs – Give the dough richness, structure, and softness. Bring them to room temperature and beat them with a fork before adding them.
For Brushing
- Butter – Brush melted butter over the rolls as soon as they come out of the oven. It gives those golden tops a soft, buttery finish and makes the warm rolls even better.
Simple Step-by-Step Instructions To Help You Make Dinner Rolls
Start with the yeast
- Place the yeast and 2 teaspoons of the sugar in a medium bowl, then pour in water. Leave for 5 minutes until it froths.
- That little layer of froth is something you want to see before moving on. It tells you the yeast is active and ready to help the rolls rise.
Make the dough
- Place flour, remaining sugar and salt in a bowl. Mix to combine.
- Make a well in the centre. Add milk, butter, eggs and pour in the yeast liquid, including all froth.
- Mix until combined with wooden spoon – it will be like a thick muffin batter. Not pourable, but thick and sticky.
- And don’t worry about that stickiness! This isn’t supposed to look like the smooth, firm ball of dough you might expect from a traditional bread recipe. The wetter consistency is exactly what you want here.
Rise #1
- Leave dough in the bowl, cover with a wet (clean) tea towel and place in a warm place (25C/77F+) to rise for around 1 1/2 – 2 hours or until almost tripled in volume. See Note 4 for how I do this (you will laugh – but it works every time!). Dough surface should be bubbly (see video or photos in post).
- This is where most of the waiting happens. By the end of the rise, the dough should look dramatically larger, airy, and bubbly.
Form the rolls
- Line a 31.5 x 23.5 cm / 9 x 13″ tray with baking paper with overhang.
- Remove tea towel and punch dough to deflate, then mix briefly in the bowl to get rid of the bubbles in the dough.
- Dust work surface with flour, scrape dough on work surface. Dust top of dough then shape into a log. Cut log into 4 pieces, then cut each piece into 3 pieces (12 in total).
- Take one piece and press down with palm, then use your fingers to gather into a ball, flip (so smooth side is up) then roll the dough briefly to form a ball. This stretches the dough on one side and that’s how I get a nice smooth surface on my roll. (For this step, use as much flour as needed to handle dough and avoid piercing inside into the wet dough)
- Place the ball with the smooth side up on the tray. Repeat with remaining dough. Line them up 3 x 4.
- The dough will still be sticky here, so flour is your friend. The important thing is to use it on the outside for easier handling rather than working lots of extra flour into the dough.
Rise #2 and bake
- Spray surface of rolls (or cling wrap) with oil (any), then place cling wrap over the tray.
- Return tray to warm place and leave for 30 – 45 min, until the dough has risen by about 75% (less than double in size).
- Partway through Rise #2, preheat oven to 200C/390F (standard) or 180C/350F (fan/convection).
- Bake for 15 – 18 minutes, or until the surface is a golden brown and the roll in the centre sounds hollow when tapped. The surface colour is the best test for this recipe.
- Remove rolls from oven. Brush with melted butter.
- Use overhang to lift rolls onto a cooling rack. Allow to cool to warm before serving.
- That last brush of butter is simple, but don’t skip it. It gives the freshly baked rolls their soft, buttery finish and makes them especially good while they’re still warm.
Mistakes I made from making these dinner rolls several times that i want you to avoid for the best results
The biggest thing to remember with these rolls is that sticky dough is a good thing.
It can feel unusual if you’re used to making traditional bread, but resist the temptation
to keep adding flour until the dough becomes firm.
Use extra flour on the surface when you need it for shaping, without kneading it into the dough.
Make sure your milk and water are pleasantly warm rather than hot. Yeast loves warmth, but too much heat can kill it.
And before you make the rest of the dough, check that the yeast mixture has become frothy after its 5-minute rest.
For really pretty rolls, spend a little extra time on the shaping.
Gathering each portion underneath creates tension across the top,
leaving you with a smoother surface that turns beautifully golden in the oven.
And finally, watch the dough instead of watching only the clock.
Room temperature makes a big difference with yeast dough.
The first rise is ready when the dough is almost tripled and bubbly, and the second is
ready when the shaped rolls have increased by about 75%.

Recipe Variations And Addings According To Your Taste
I wouldn’t change the basic dough when making these rolls—the balance of liquid, flour, yeast, eggs, and butter is what gives them their characteristic texture. Instead, it’s easy to change how you serve them.
For something savory, warm a little garlic or herb butter and spread it over the finished rolls. They’re also lovely with flaky salt sprinkled over the buttery tops.
For a sweeter breakfast version, leave the recipe itself exactly as it is and serve the warm rolls with honey, jam, preserves, or cinnamon butter.
And don’t forget about sandwiches! Once cooled, the rolls can be split and filled for small sandwiches or sliders.
Storage & Reheating
Like most homemade bread, these rolls are especially good on the day they’re baked. That warm, soft texture straight from the oven is hard to beat.
If you have leftovers the next day, reheating brings much of that softness back. Microwave an individual roll for about 15 seconds, or put several rolls on a tray, cover them with foil, and warm them at 160C/320F for about 8 minutes.
They freeze well after baking, too. Defrost the amount you need and warm them before serving.
And for a make-ahead option, shape the dough into balls, cover with cling wrap, and refrigerate for 4–24 hours for the second rise. Take the rolls out 30 minutes before baking, then continue with the recipe. It’s especially handy when you want freshly baked rolls without preparing the entire recipe right before dinner.
With what kind of dishes we can serve thess dinner rolls ?
I think these rolls are at their best when they’re still slightly warm and there’s butter nearby. Pull one away from the batch, split it open, and let a little butter melt into the fluffy center.
They’re a natural addition to roast chicken, turkey, beef, soups, and stews, and they’re especially useful whenever there’s gravy or a good sauce on the table. For a holiday dinner, set the whole batch in a bread basket and let everyone pull off their own roll.
Leftovers can take a completely different direction the next morning. Split and toast them for butter and jam, or use them for little breakfast sandwiches. They’re also just the right size for sliders, making it very easy to give yesterday’s dinner rolls a second life.
Discover More Easy Side Dishes for Your Holiday Dinners or Weeknight Dinners
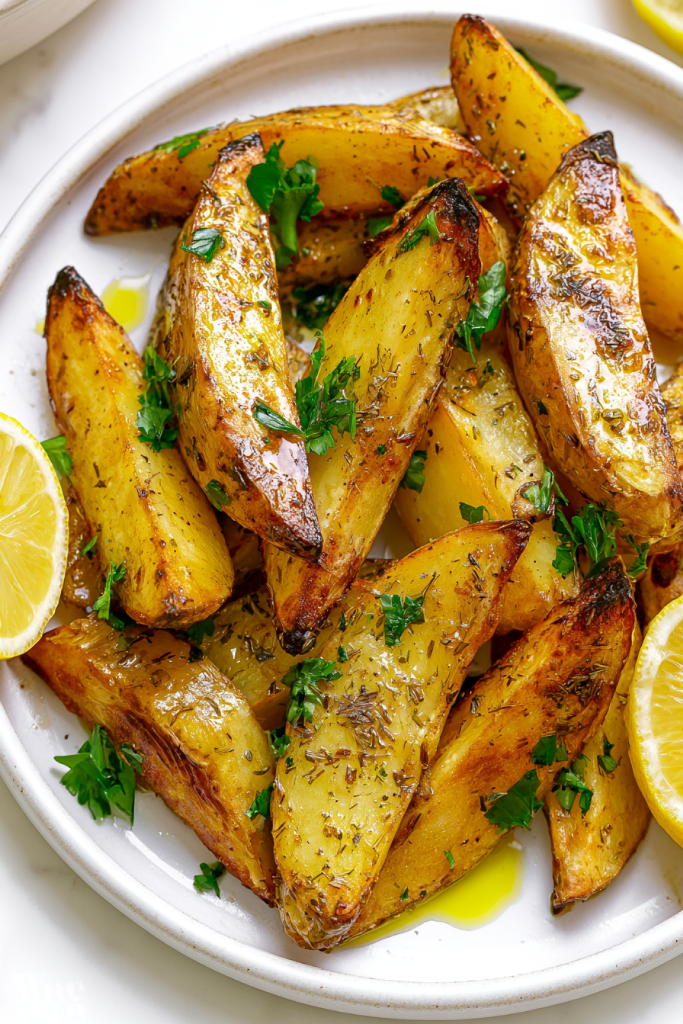
Honey Mustard Roasted Potatoes

Soft No-Knead Dinner Rolls
Ingredients
Buns
- 1 tbsp dry yeast
- 1/4 cup caster/superfine sugar, or sub with normal white sugar
- 1/2 cup warm water
- 4 cup bread flour + extra for dusting
- salt, cooking/kosher salt
- 1 cup milk, lukewarm, whole or low fat
- 50g / 3 1/2 tbsp unsalted butter, melted and cooled
- 2 eggs, at room temperature, beaten with fork
Brushing
- 1 tbsp butter, melted
Instructions
- Activate the Yeast : Place the yeast and 2 teaspoons of the sugar in a medium bowl, then pour in water. Leave for 5 minutes until it froths.
- Combine the Dry Ingredients : Place flour, remaining sugar and salt in a bowl. Mix to combine.
- Add the Wet Ingredients : Make a well in the centre. Add milk, butter, eggs and pour in the yeast liquid, including all froth.
- Mix the Dough : Mix until combined with wooden spoon – it will be like a thick muffin batter. Not pourable, but thick and sticky.
Rise #1
- Leave dough in the bowl, cover with a wet (clean) tea towel and place in a warm place (25C/77F+) to rise for around 1 1/2 – 2 hours or until almost tripled in volume. See Note 4 for how I do this (you will laugh – but it works every time!). Dough surface should be bubbly (see video or photos in post).
Forming Balls
- Line a 31.5 x 23.5 cm / 9 x 13″ tray with baking paper with overhang.Remove tea towel and punch dough to deflate, then mix briefly in the bowl to get rid of the bubbles in the dough.Dust work surface with flour, scrape dough on work surface. Dust top of dough then shape into a log. Cut log into 4 pieces, then cut each piece into 3 pieces (12 in total).Take one piece and press down with palm, then use your fingers to gather into a ball, flip (so smooth side is up) then roll the dough briefly to form a ball. This stretches the dough on one side and that’s how I get a nice smooth surface on my roll. (For this step, use as much flour as needed to handle dough and avoid piercing inside into the wet dough)Place the ball with the smooth side up on the tray. Repeat with remaining dough. Line them up 3 x 4.
Rise #2
- Spray surface of rolls (or cling wrap) with oil (any), then place cling wrap over the tray.Return tray to warm place and leave for 30 – 45 min, until the dough has risen by about 75% (less than double in size).Partway through Rise #2, preheat oven to 200C/390F (standard) or 180C/350F (fan/convection).Bake for 15 – 18 minutes, or until the surface is a golden brown and the roll in the centre sounds hollow when tapped. The surface colour is the best test for this recipe.Remove rolls from oven. Brush with melted butter.Use overhang to lift rolls onto a cooling rack. Allow to cool to warm before serving.
.
Recipe Notes
- Check your yeast before continuing. The frothy surface after 5 minutes is important. If the yeast does not become frothy, it may no longer be active, which means the dough is unlikely to rise properly.
- Keep the liquids warm, not hot. Very hot water or milk can kill yeast. Aim for a comfortably warm temperature—if the liquid would feel pleasant as bath water, it is in the right range.
- Don't be alarmed by the sticky dough. This is intentionally much wetter than traditional kneaded bread dough. It should resemble a very thick, sticky muffin batter rather than a firm ball of bread dough.
- Give the first rise enough time. Look at the dough rather than relying only on the clock. It should be close to tripled in volume with visible bubbles on its surface.
- Use flour for handling, not kneading. When shaping, flour your hands and the exterior of the dough as necessary. Avoid working large quantities of extra flour into the dough because its high moisture level helps create the soft texture.
- Pay attention to the shaping. Gathering each portion underneath and leaving a taut, smooth surface on top helps produce smoother, more evenly golden rolls.
- Use the color as your baking guide. The rolls should have a good golden-brown surface after approximately 15–18 minutes.
- Brush them while they're hot. Apply the melted butter immediately after the rolls leave the oven for a softer, buttery finish.
Nutrition
Calories: 255kcal | Carbohydrates: 40g | Protein: 7g | Fat: 7g | Saturated Fat: 4g | Cholesterol: 47mg | Sodium: 322mg | Potassium: 115mg | Fiber: 1g | Sugar: 6g | Vitamin A: 255IU | Calcium: 48mg | Iron: 1mg Nutrition is per roll (1 of 12) and is approximate; the original recipe card specifies 255 calories per roll.Recipe FAQs
1. Why is my no-knead dinner roll dough so sticky?
That’s exactly how it should be! This dough is much wetter and stickier than regular bread dough. Don’t keep adding flour to make it easier to handle. When shaping the rolls, just dust your work surface, hands, and the outside of the dough with enough flour to keep everything from sticking.
2. How do I know if my yeast is working?
After mixing the yeast with the warm water and sugar, let it sit for about 5 minutes. It should become frothy and bubbly on top. If you don’t see any froth, the yeast may no longer be active, and I recommend starting again with fresh yeast so your rolls rise properly.
3. What should I do if my dough isn’t rising?
Make sure you place the dough somewhere warm. A cooler kitchen can make the rising process take longer, so don’t worry if your dough needs a little extra time. For the first rise, you’re looking for dough that has almost tripled in size and has a bubbly surface.
4. Can I make these dinner rolls ahead of time?
Yes! Shape the dough into the 12 rolls, cover with cling wrap, and refrigerate for 4 to 24 hours for the second rise. Take the rolls out of the refrigerator 30 minutes before baking, then bake according to the recipe. This is a great option when making them for a holiday or family dinner.
5. How do I get smooth, golden tops on my dinner rolls?
It all comes down to how you shape them. Press each piece of dough down, gather the dough underneath to form a ball, and flip it over so the smooth side is facing up. This helps stretch the surface and gives the rolls those pretty golden tops. Once baked, brush them with melted butter while they’re still hot for a soft, buttery finish.

You May Also Love
Vibrant Colored Deviled Eggs (5 Ingredients!)
Make sure to leave a coment if you tried any of these recipes, so i can know what do you thonk and how it came out for you.
Happy cooking.